Furniture renovating is infectious :) This cabinet renovation was made by my really good friend. And first of all I would like to say thanks to her. She spent a lot of time and efforts to make this great renovation, and share with me step by step instructions and pictures. Thank you, Nadiya. And I miss you!
When I first saw this piece of junk made from pressed wood it looked like old ugly cabinet. So here is "before" picture:

Next time when I met this cabinet it was like brand new and stylish, as we can see on "after" pictures
First step in any renovation, remove all old finish and painting. So take the sand paper (start from using 60 and then use paper with higher numbers to make your sanded surface smoother)
Next step - covering cabinet with base color. In this case it was white acrylic water-based painting.
When base coat is dried it's time to cover cabinet with couple nice layers of paint you would like your cabinet be. So take beige acrylic paint and put couple layers of it.
Time to be an artist. Take pictures you like, for example these gorgeous peacocks, and print them out
Take pencil and lead them where they suppose to be
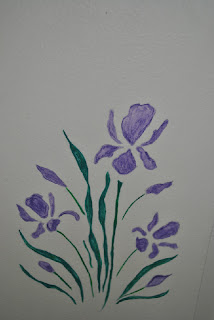
Using acrylic paints add colors to your painting:
Last step - attach new cabinet handles and you are done. Instead of old cabinet you have brand new piece of art in your kitchen.


With individually fitted out covered in paint dressers, you can in addition have two shade of color sound or polish offs where a second shade of color presentations through (RTA Cabinets Los Angeles) in environs that have literally had the apex overcoat of cover in paint polished off.
ReplyDeleteLet's take a look at some tips that you could follow in order to find the best: Top Rated Range Hood Repair in Riverside
ReplyDelete